 电子发烧友App


本文基于I.MX6ULL芯片的Linux开发板,介绍如何在嵌入式Linux开发板上配置Qt运行环境,并运行Qt程序进行测试
1.?tslib编译
要想Qt支持触摸就需要编译tslib,以生成触摸相关插件。tslib多用于嵌入式系统中,是基本的触摸插件
Ubuntu工具安装:防止编译tslib过程中出错
?
sudo?apt-get?install?autoconf
sudo?apt-get?install?automake
sudo?apt-get?install?libtool
?
获取tslib源码:源码下载完成后,将压缩包拷贝到Ubuntu中解压
下载地址:https://github.com/libts/tslib/tags
?
tar?-vxjf?tslib-1.21.tar.bz2
?
编译tslib:将交叉编译工具与tslib编译结果存放到当前目录下的arm-tslib文件夹中
?
//如报错,可切换到root用户下执行以下命令
cd?tslib-1.21/???????//进入?tslib?源码目录
./autogen.sh?????????//执行autogen.sh生成Makefile
./configure?--host=arm-linux-gnueabihf?
ac_cv_func_malloc_0_nonnull=yes?--cache-file=arm-linux.cache?
-prefix=/home/andyxi/linux/tool/tslib-1.21/arm-tslib
make?????????????????//编译
make?install?????????//安装
?
--host 参数用于指定编译器;
-prefix 参数用于指定编译完后的tslib文件安装到哪里
完成后make install会将编译成果复制到arm-tslib文件夹中,将arm-tslib文件夹整个打包为arm-tslib.tar.bz2文件,以备后面移植时开发板使用
?
tar?-jcf?arm-tslib.tar.bz2?arm-tslib
?
2.?Qt源码编译
2.1?下载Qt5.12.9源码
? 下载地址:https://download.qt.io/archive/qt/5.12/5.12.9/single/
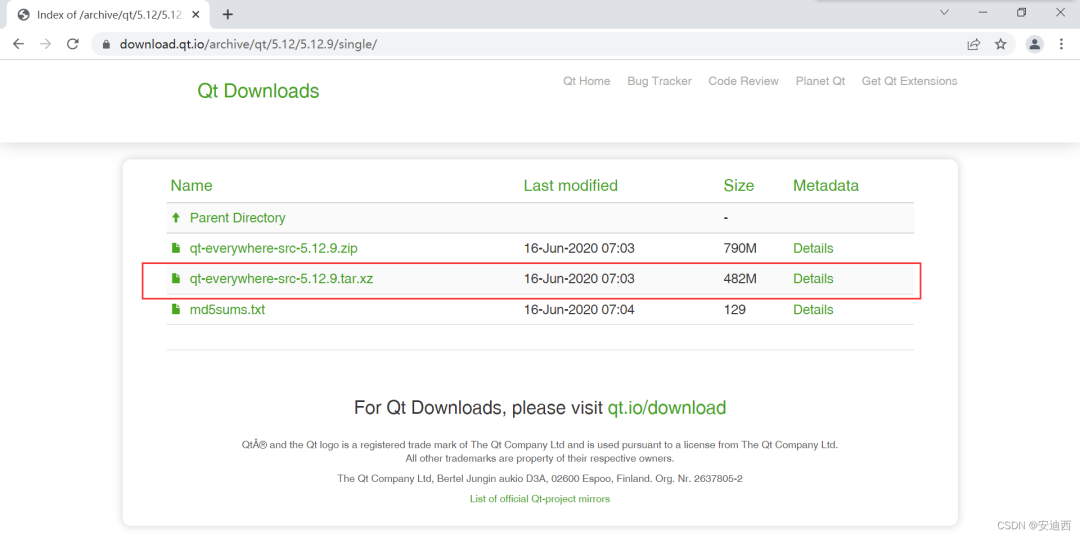
将下载好的qt-everywhere-src-5.12.9.tar.xz拷贝到Ubuntu中,然后解压:
tar?-xvf?qt-everywhere-src-5.15.2.tar.xz
?
2.2?修改qmake.conf
进入解压后的文件夹qt-everywhere-src-5.15.2,修改qtbase/mkspecs/linux-arm-gnueabi-g++/文件夹下的qmake.conf文件,修改后的内容如下:
?
#
#?qmake?configuration?for?building?with?arm-linux-gnueabi-g++
#

MAKEFILE_GENERATOR??????=?UNIX
CONFIG?????????????????+=?incremental
QMAKE_INCREMENTAL_STYLE?=?sublib

######################?添加的部分:开始?######################
QT_QPA_DEFAULT_PLATFORM?=?linuxfb
QMAKE_CFLAGS?+=?-O2?-march=armv7-a?-mtune=cortex-a7?-mfpu=neon?-mfloat-abi=hard
QMAKE_CXXFLAGS?+=?-O2?-march=armv7-a?-mtune=cortex-a7?-mfpu=neon?-mfloat-abi=hard
######################?添加的部分:结束?######################

include(../common/linux.conf)
include(../common/gcc-base-unix.conf)
include(../common/g++-unix.conf)

#########?将下面所有的?arm-linux-gnueabi?修改为?arm-linux-gnueabihf?#########
#?modifications?to?g++.conf
QMAKE_CC????????????????=?arm-linux-gnueabihf-gcc
QMAKE_CXX???????????????=?arm-linux-gnueabihf-g++
QMAKE_LINK??????????????=?arm-linux-gnueabihf-g++
QMAKE_LINK_SHLIB????????=?arm-linux-gnueabihf-g++

#?modifications?to?linux.conf
QMAKE_AR????????????????=?arm-linux-gnueabihf-ar?cqs
QMAKE_OBJCOPY???????????=?arm-linux-gnueabihf-objcopy
QMAKE_NM????????????????=?arm-linux-gnueabihf-nm?-P
QMAKE_STRIP?????????????=?arm-linux-gnueabihf-strip
load(qt_config)
?
2.3?配置编译选项
查看编译选项,输入./configure -help指令,查看可配置选项。由于配置项有很多,因此可以使用一个配置脚本来进行配置。编写一个autoconfigure.sh文件,然后根据自己的情况,写入如下配置:
?
./configure?-prefix?/home/andyxi/linux/qt/qt-everywhere-src-5.12.9/arm-qt?
-opensource?
-confirm-license?
-release?
-strip?
-shared?
-xplatform?linux-arm-gnueabi-g++?
-optimized-qmake?
-c++std?c++11?
--rpath=no?
-pch?
-skip?qt3d?
-skip?qtactiveqt?
-skip?qtandroidextras?
-skip?qtcanvas3d?
-skip?qtconnectivity?
-skip?qtdatavis3d?
-skip?qtdoc?
-skip?qtgamepad?
-skip?qtlocation?
-skip?qtmacextras?
-skip?qtnetworkauth?
-skip?qtpurchasing?
-skip?qtremoteobjects?
-skip?qtscript?
-skip?qtscxml?
-skip?qtsensors?
-skip?qtspeech?
-skip?qtsvg?
-skip?qttools?
-skip?qttranslations?
-skip?qtwayland?
-skip?qtwebengine?
-skip?qtwebview?
-skip?qtwinextras?
-skip?qtx11extras?
-skip?qtxmlpatterns?
-make?libs?
-make?examples?
-nomake?tools?-nomake?tests?
-gui?
-widgets?
-dbus-runtime?
--glib=no?
--iconv=no?
--pcre=qt?
--zlib=qt?
-no-openssl?
--freetype=qt?
--harfbuzz=qt?
-no-opengl?
-linuxfb?
--xcb=no?
-tslib?
--libpng=qt?
--libjpeg=qt?
--sqlite=qt?
-plugin-sql-sqlite?
-I/home/andyxi/linux/tool/tslib-1.21/arm-tslib/include?
-L/home/andyxi/linux/tool/tslib-1.21/arm-tslib/lib?
-recheck-all
?
其中三处配置路径需要修改:
-prefix?参数用于指定编译输出路径
-I?参数用于指定tslib头文件路径
-L?参数用于指定tslib相关库文件路径
2.4?源码编译
赋予配置脚本autoconfigure.sh可执行权限,然后执行
?
sudo?apt-get?install?g++?? #配置前请先安装g++,如已安装可忽略
chmod?+x?autoconfigure.sh
./autoconfigure.sh?
?
配置脚本运行完成之后,就可以进行编译和安装了,大约需要十几到几十分钟
?
make
make?install?#安装
?
编译安装完成后就可以看到arm-qt文件中的内容了,将arm-qt文件夹打包为arm-qt.tar.bz2文件,以备移植开发板时使用
?
tar?-jcf?arm-qt.tar.bz2?arm-qt
?
3.?开发板上配置Qt环境
3.1?移植tslib到文件系统
将之前打包的arm-tslib.tar.bz2压缩包复制到开发板的/usr/lib目录下,解压后删除无用的压缩包
?
cp?arm-tslib.tar.bz2?/home/andyxi/linux/nfs/rootfs/usr/lib
cd?/home/andyxi/linux/nfs/rootfs/usr/lib
tar?xf?arm-tslib.tar.bz2
rm?arm-tslib.tar.bz2?
?
设置开发板的环境变量,在/etc/profile文件中配置tslib的环境变量,添加如下内容
?
export?TSLIB_ROOT=/usr/lib/arm-tslib
export?TSLIB_CONSOLEDEVICE=none
export?TSLIB_FBDEVICE=/dev/fb0
export?TSLIB_TSDEVICE=/dev/input/event1
export?TSLIB_CONFFILE=$TSLIB_ROOT/etc/ts.conf
export?TSLIB_PLUGINDIR=$TSLIB_ROOT/lib/ts
export?TSLIB_CALIBFILE=/etc/pointercal
export?LD_PRELOAD=$TSLIB_ROOT/lib/libts.so
?
测试tslib功能
?
source?/etc/profile??#使能环境变量,若重启过开发板可忽略此步骤
#运行?ts_test?测试触摸是否正常
/usr/lib/arm-tslib/bin/ts_test?
?
3.2?移植Qt到文件系统
将之前打包的arm-qt.tar.bz2压缩包复制到开发板的/usr/lib目录下,解压后删除无用的压缩包
?
cp?arm-qt.tar.bz2?/home/andyxi/linux/nfs/rootfs/usr/lib
cd?/home/andyxi/linux/nfs/rootfs/usr/lib
tar?xf?arm-qt.tar.bz2
rm?arm-qt.tar.bz2?
?
设置开发板的环境变量,在/etc/profile文件中配置Qt5的环境变量,添加如下内容
?
export?QT_ROOT=/usr/lib/arm-qt?
export?QT_QPA_GENERIC_PLUGINS=tslib:/dev/input/event1?
export?QT_QPA_FONTDIR=/usr/share/fonts?
export?QT_QPA_PLATFORM_PLUGIN_PATH=$QT_ROOT/plugins?
export?QT_QPA_PLATFORM=linuxfb:tty=/dev/fb0?
export?QT_PLUGIN_PATH=$QT_ROOT/plugins?
export?LD_LIBRARY_PATH=$QT_ROOT/lib:$QT_ROOT/plugins/platforms?
export?QML2_IMPORT_PATH=$QT_ROOT/qml?
export?QT_QPA_FB_TSLIB=1
?
4. Qt运行测试
Qt的编译文件中,自带了Qt的一些例子,可先在板子上运行这些例子看看Qt程序能否能在板子上正常运行,运行其中的一个程序:
?
source?/etc/profile??#使能环境变量,若重启过开发板可忽略此步骤
#运行编译的示例
./usr/lib/arm-qt/examples/widgets/animation/animatedtiles/animatedtiles
?
?
如果示例程序可以正常运行,说明开发板上的Qt运行环境配置成功。


 工商网监
工商网监
评论